Installing a Chamberlain garage door opener can be a rewarding DIY project. It improves home security and convenience. This guide will walk you through the installation process step-by-step.
Understanding Your Garage Door Opener Kit
Unpack your Chamberlain garage door opener. Check all parts against the provided list. Familiarize yourself with each component.
Pre-Installation Checklist
- Ensure the garage door moves freely.
- Check the garage door balance.
- Measure the garage door height.
- Clear the area for installation.
Tools You’ll Need
- Adjustable wrench
- Screwdrivers
- Tape measure
- Level
- Drill
Step-by-Step Installation Guide
Step 1: Assemble the Rail and Trolley
Connect the rail sections. Slide the trolley over the rail.
Step 2: Attach the Rail to the Motor Unit
Secure the rail to the motor unit. Use the hardware provided.
Step 3: Position the Opener
Lift the assembly. Position it in the center of the garage door.
Step 4: Attach the Bracket
Attach the door bracket to the garage door. Follow the manufacturer’s instructions.
Step 5: Connect the Rail to the Bracket
Lift the opener. Connect the rail to the bracket on the garage door.
Step 6: Secure the Opener
Fasten the opener to the ceiling. Ensure it’s level and secure.
Step 7: Install the Control Panel
Mount the control panel. Ensure it’s within reach but out of children’s reach.
Step 8: Connect the Door Arm
Attach the door arm to the trolley. Then, connect it to the door bracket.
Step 9: Install Safety Sensors
Install the safety sensors. They should be 6 inches off the ground.
Step 10: Program the Opener
Follow the instructions to program the opener. Test the door several times.
Detailed Installation Table
| Step | Task | Details | Notes |
|---|---|---|---|
| 1 | Assemble Rail and Trolley | Connect rail sections; slide trolley over rail | Check alignment |
| 2 | Attach Rail to Motor | Secure rail to motor unit with provided hardware | Ensure tight fit |
| 3 | Position Opener | Lift assembly; center above door | May require assistance |
| 4 | Attach Bracket | Secure door bracket as per instructions | Check for stability |
| 5 | Connect Rail to Bracket | Lift opener; connect to door bracket | Ensure proper alignment |
| 6 | Secure Opener | Fasten opener to ceiling; check level | Use sturdy supports |
| 7 | Install Control Panel | Mount panel; accessible but out of children’s reach | Avoid direct sunlight |
| 8 | Connect Door Arm | Attach to trolley and door bracket | Check for smooth operation |
| 9 | Install Safety Sensors | Place 6 inches off the ground | Align sensors properly |
| 10 | Program Opener | Follow programming instructions | Test multiple times |
Frequently Asked Questions
How do I ensure my garage door is balanced before installation?
To test balance, disconnect the door from the opener. Lift it manually. It should stay open about 3-4 feet above the floor. If it doesn’t, the springs may need adjustment.
Can I install a Chamberlain opener on
an old garage door?
Yes, you can install a Chamberlain opener on an old garage door. However, ensure the door is in good working condition. Refer to “Can you install a new garage door on old tracks?” for more details.
What safety measures should I take during installation?
Safety is crucial. Wear protective gear like gloves and safety glasses. Ensure the power is off during installation. Follow the manual’s safety instructions. For more safety tips, visit “Garage Door Safety”.
How do I program my Chamberlain garage door opener?
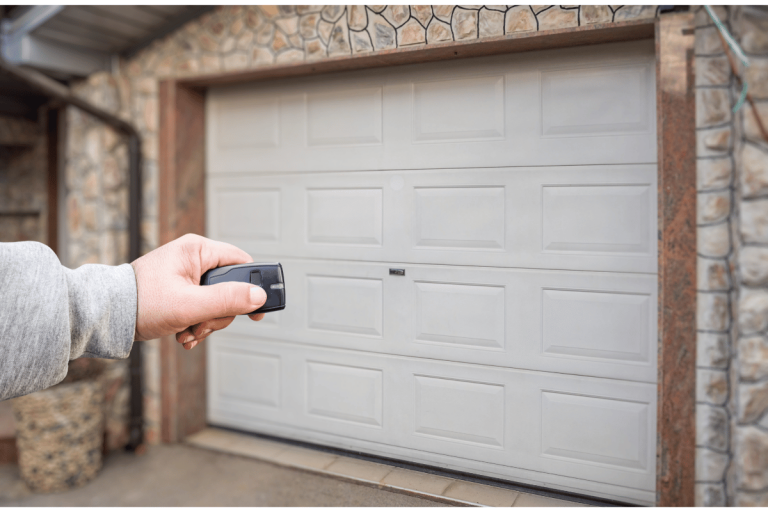
To program, press the “learn” button on the opener. Then press the button on your remote control. The lights will blink, indicating successful programming. For a detailed guide, see “How to replace the battery in a garage door opener”.
Conclusion
Installing a Chamberlain garage door opener enhances convenience and security. Follow this guide for a smooth installation. For more information on garage door maintenance and repair, visit our services page. If you encounter challenges or prefer professional installation, don’t hesitate to contact us. Our team is always ready to assist with your garage door needs.


